


What to Look for in Head-Mounted Night Vision

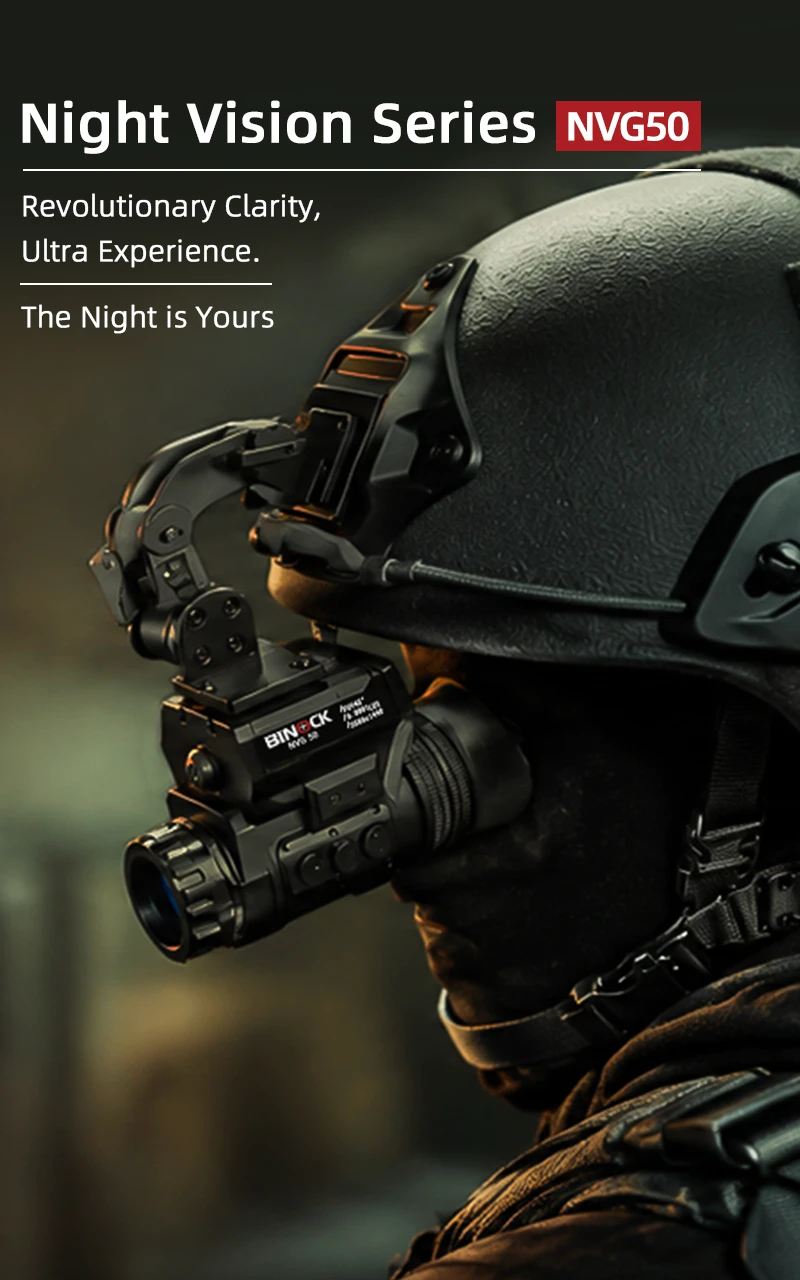
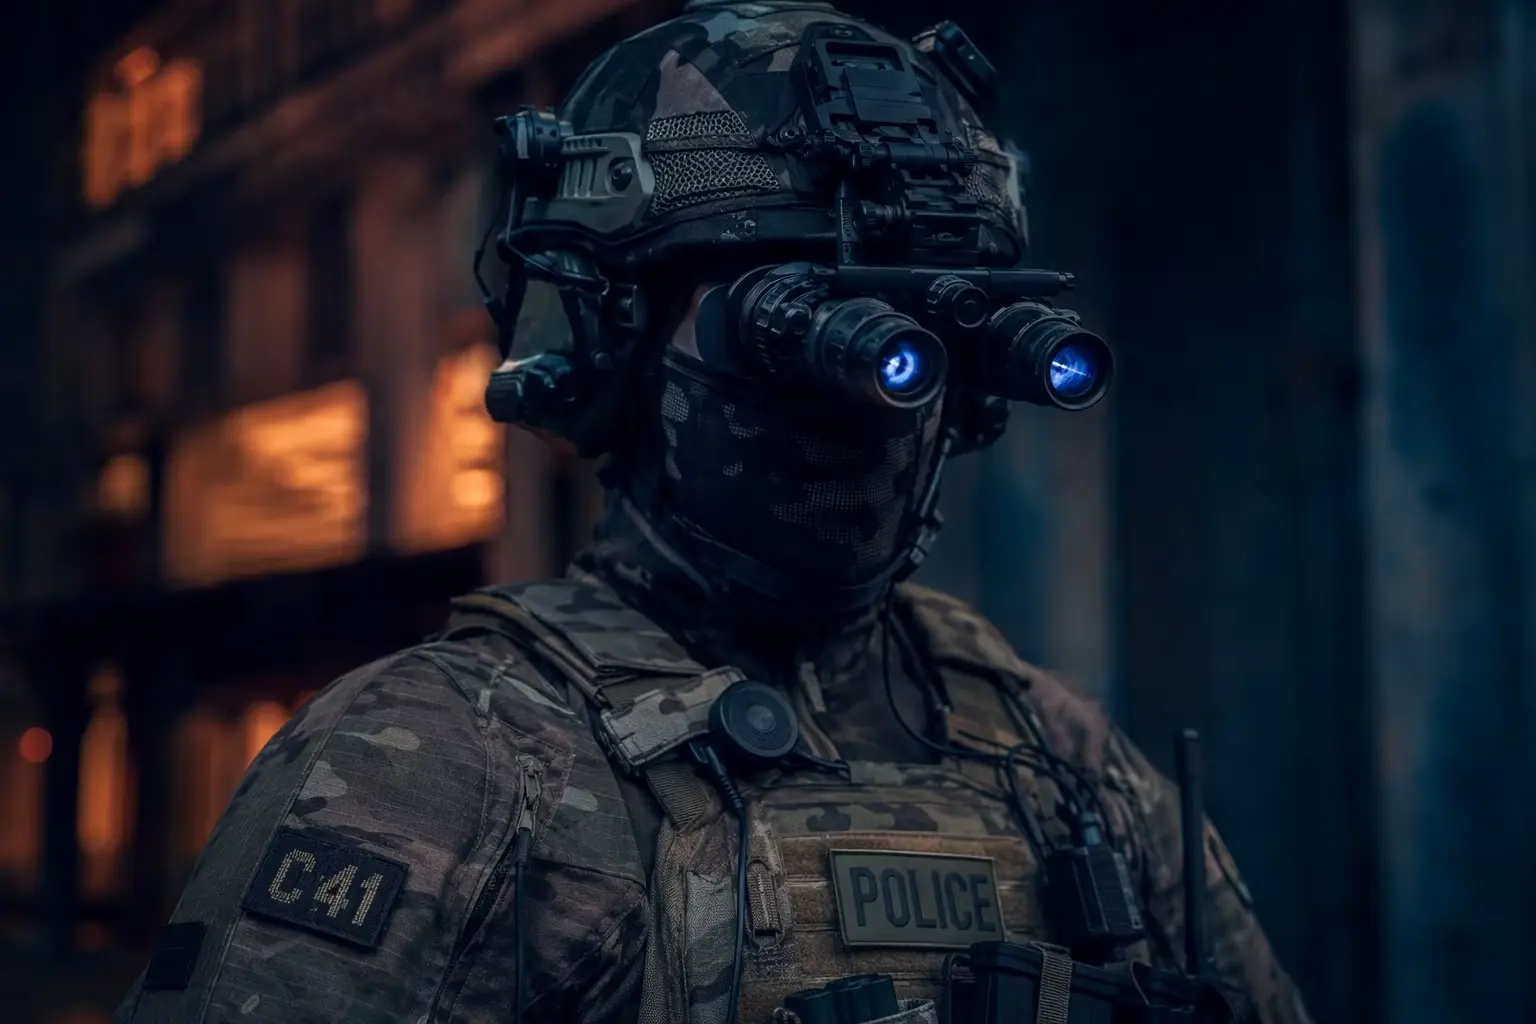
Whether you're hunting or patrolling, head-mounted equipment is the only way to maintain mobility and efficiency in the dark. This time, we've cut into the gibberish and told you straight to the point—from sensor type to resolution—to ensure you find a truly practical and budget-friendly device.
Here’s the unvarnished, no-BS guide to what actually matters in head mounted night vision gear in 2026.
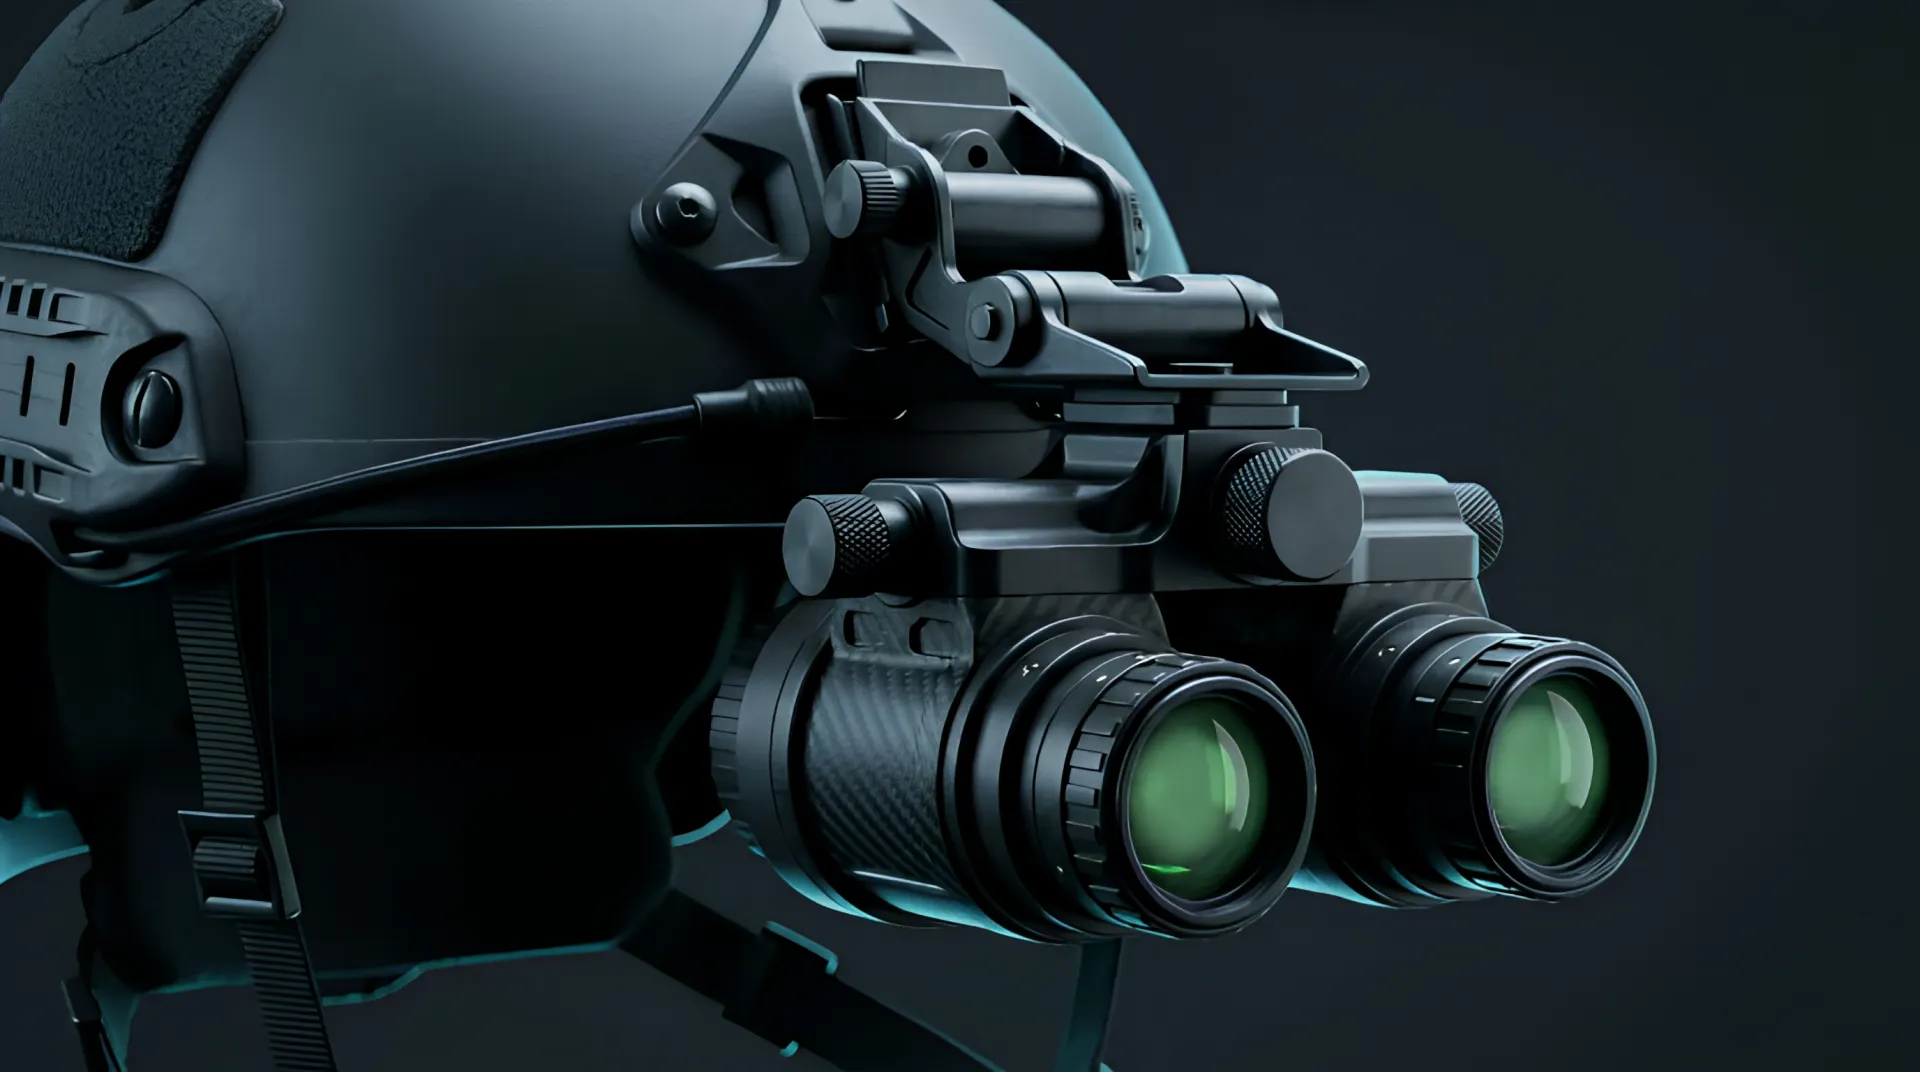
Step One: Pick Your Flavor Night Vision Goggle– Digital, Thermal, or Analog?
Before we talk specs, you need to decide which type of technology fits your real-world use. This isn't about which is "best" overall—it's about which is best for you. There are three main contenders, and they couldn't be more different.
Digital Night Vision – The Practical All-Rounder
Digital night vision has exploded in popularity over the last few years, and for good reason. Instead of using fragile glass tubes, these devices use a CMOS image sensor—essentially the same tech inside your smartphone camera—to capture available light and display it on a tiny internal screen.
The upside: They're generally more affordable than military-grade analog systems. They record video and take photos out of the box. They aren't damaged by sudden bright lights like car headlights or muzzle flashes. And many now come with built-in Wi-Fi for phone connectivity. For hobbyists, airsoft players, and nighttime campers, digital is the sweet spot.
The catch: In total darkness, digital units rely heavily on an IR (infrared) illuminator—basically an invisible flashlight. This works fine, but it drains batteries fast, and anyone else with night vision can see your IR beam. Also, cheaper digital models suffer from lag; if you move your head quickly, the image stutters. Look for at least 60Hz refresh rate—100Hz is even better.
Thermal Night Vision – The Heat-Seeking Specialist
Thermal night vision doesn't amplify light at all. It detects heat signatures—infrared radiation emitted by living things, warm engines, and recently parked vehicles.
The upside: Thermal sees through total darkness, smoke, light fog, and light foliage like a superhero. You can spot a deer hiding in thick brush from 200 yards, or a person crouched behind a bush, because their body heat stands out starkly against the cooler background. For search-and-rescue or hog hunting, thermal is unbeatable.
The catch: Thermal images lack fine detail. You'll see a warm blob shaped like a human or animal, but you won't recognize a face, read a license plate, or identify a friend from a foe. It's detection, not identification. Also, thermal units are expensive—often two to three times the price of comparable digital units—and they chew through batteries.
Analog (Image Intensifier) – The Military Gold Standard
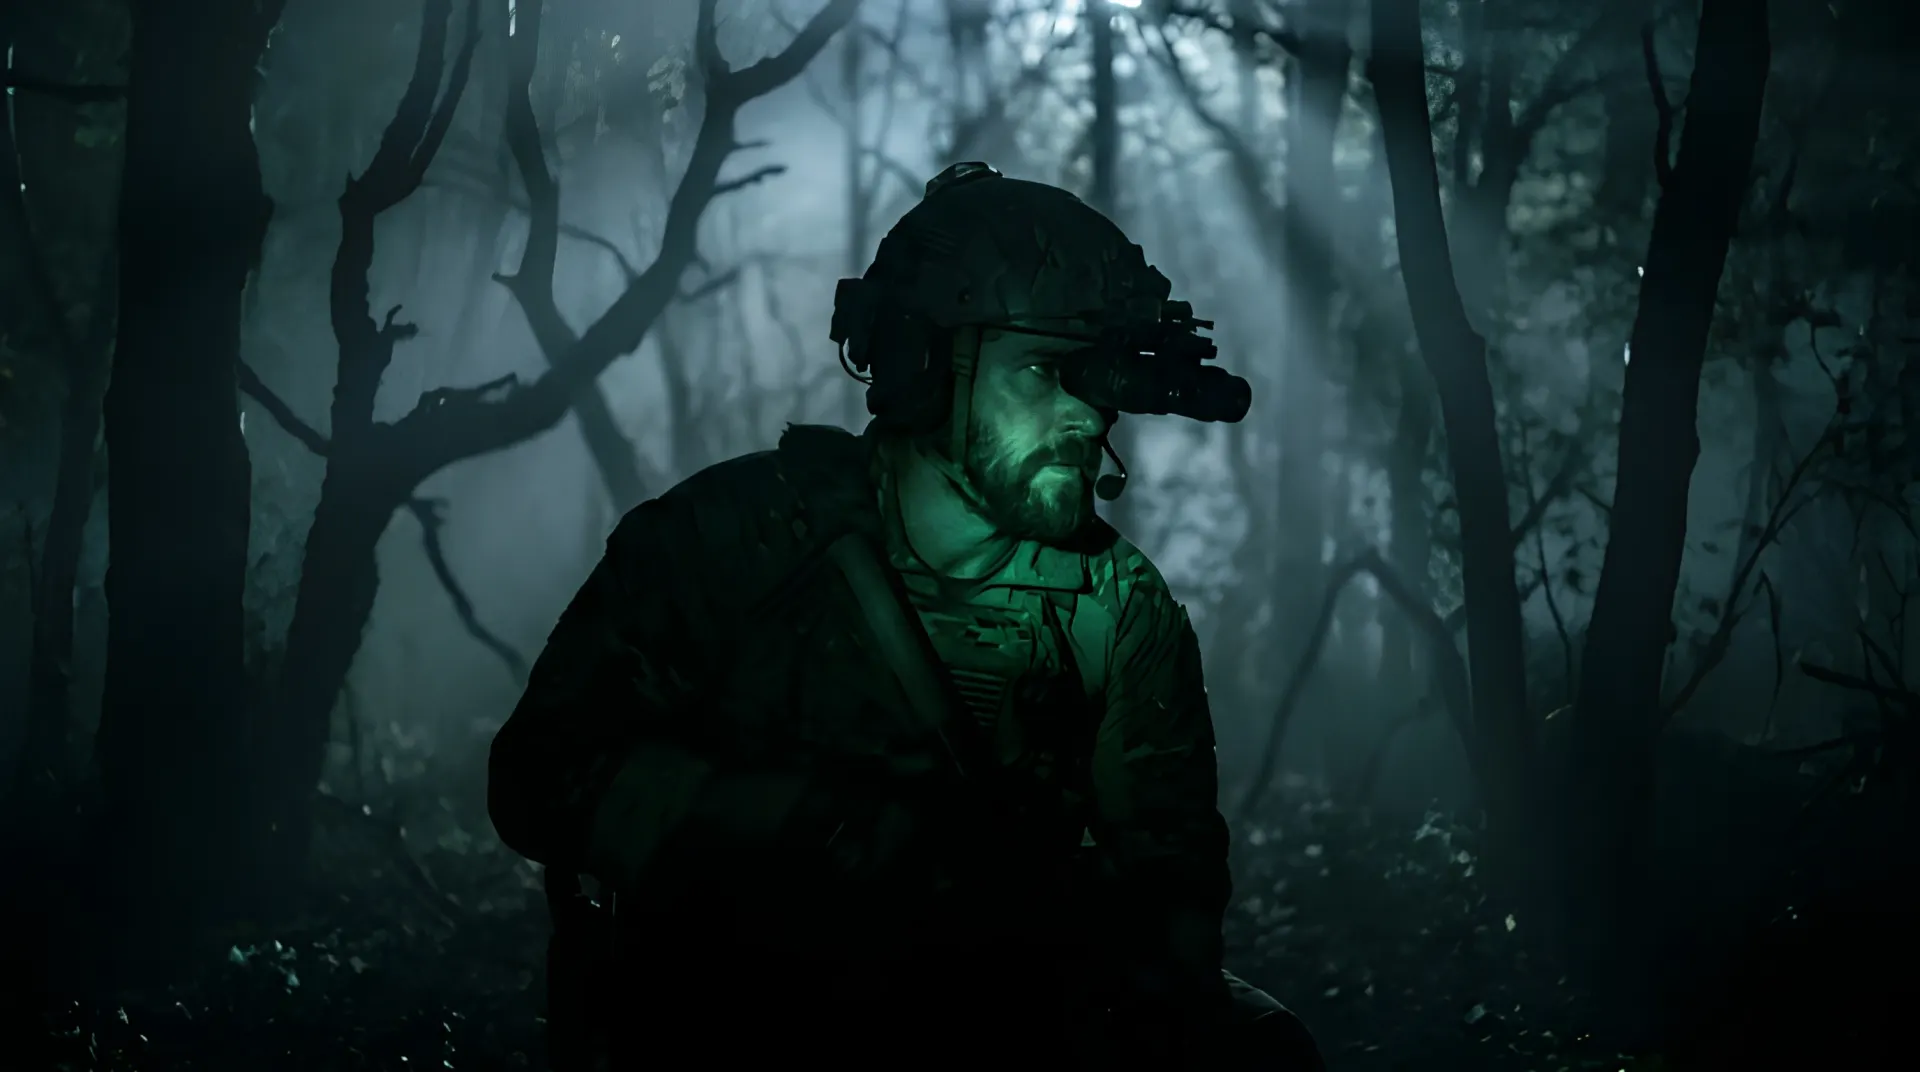
These are the classic "green-tinted" night vision goggles you've seen in movies. Analog tubes amplify ambient light—starlight, moonlight, or sky glow—by tens of thousands of times, projecting a green (or sometimes white) image onto a phosphor screen.
The upside: Zero lag, exceptional clarity, natural depth perception, and no reliance on IR illuminators unless it's completely overcast. The image feels like reality, just brighter.
The catch: Analog units are expensive, fragile, and can be permanently damaged if exposed to bright light without auto-gating protection. They also don't record video, and you'll need to replace the tubes after several thousand hours of use.
The bottom line: If you want to identify objects and navigate terrain naturally, go digital or analog. If you want to detect living targets hidden in the dark, go thermal. And if money is no object, some high-end systems now fuse digital and thermal into a single display—but that's a conversation for another day (and a much bigger budget).
Step Two: Night Vision Device Real Specs That Matter
Once you've chosen your technology, the marketing fluff starts flying. Here's how to cut through it.
Resolution – Don't Be Fooled
For digital night vision, sensor resolution matters. Look for at least 1080p—many budget units still ship with 720p or lower, and the image looks like a potato. Some new units claim "4K," but be skeptical; that often refers to recording resolution, not the display resolution. Check both sensor and screen specs.
For thermal units, resolution is even more critical. A 160x120 thermal sensor is entry-level and blurry. 320x240 is decent. 640x480 is professional-grade and crystal clear—but pricey.
Refresh Rate – The Motion Sickness Factor
This one is non-negotiable. If your head mounted night vision has a refresh rate below 50Hz, you'll experience noticeable lag when turning your head. That lag can cause disorientation, nausea, or even a fall. Shoot for 60Hz minimum. 100Hz or 120Hz is ideal for fast-moving activities like driving or riding ATVs at night.
Field of View – Say No to Tunnel Vision
Standard night vision goggles offer roughly 40 degrees of field of view. That's like looking through a paper towel roll. Higher-end units push 50 degrees or more, and some wide-angle digital models now reach 60 degrees. Wider FOV improves situational awareness and reduces the "tunnel" feeling that makes head-mounted units exhausting to wear for long periods.
Weight and Balance – Your Neck Will Thank You
Here's the most overlooked spec in the entire industry: weight.
A pair of goggles that weighs 400 grams might seem light on paper, but when mounted on the front of a helmet, that weight acts like a lever arm. Your neck muscles work overtime to keep your head upright, and after an hour, you'll feel it. After two hours, you'll hate life.
Lightweight night vision goggles under 300 grams are comfortable for extended wear. Binocular systems (dual tubes) offer superior depth perception—critical for driving, climbing, or moving through obstacles—but they weigh more. If you go binocular, invest in a counterweight for the back of the helmet to balance the load. Your cervical spine will send you a thank-you note.
Mounting System – Secure or Stupid
A loose mount ruins everything. Most modern head-mounted night vision devices use a dovetail interface, which locks securely and doesn't wobble. Avoid older bayonet-style mounts—they're less stable and prone to jiggling with every step.
Look for an articulating arm that lets you flip the goggles up and out of the way when you don't need them, without removing your helmet. This sounds like a luxury until you've tried it, and then it becomes a requirement.
Step Three: Night Vision’s Hidden Features That Save Your Sanity
Auto-Gating (For Analog Users)
If you go the analog route, auto-gating is non-negotiable. This feature automatically shuts down the image tube for a fraction of a second when it detects a sudden bright light—like a car headlight, a muzzle flash, or a turned-on flashlight. It protects your expensive investment and prevents temporary blinding. Without auto-gating, one accidental glance at a bright light can permanently damage the tube.
IR Illuminator Quality
For digital night vision, the built-in IR illuminator is your lifeline in total darkness. But not all IR illuminators are equal. Look for adjustable power settings—high, medium, low—so you can conserve battery or dim the beam when stealth matters.
Also, pay attention to the IR wavelength. 850nm illuminators have a faint red glow that's visible to the naked eye. 940nm illuminators are truly covert—you won't see any red glow—but they're slightly less efficient. If stealth is a priority, go 940nm.
Battery Life and Power Source
Nothing kills a night mission faster than a dead battery. Units that run on standard AAs or CR123s are convenient—you can swap them anywhere. USB-C rechargeable units are increasingly common, which is great for daily use, but bring a power bank if you're heading into the backcountry for multiple nights.
Check realistic battery life, not the "up to" claims. Many digital units quote 6–8 hours, but with the IR illuminator on high, that can drop to 2–3 hours. Bring spares.
Manual Focus vs. Fixed Focus
Some budget night vision goggles have fixed focus—they're set to infinity and you can't adjust them. That's fine if you're only scanning the horizon, but if you need to read a map, check a trap, or identify something at close range, manual focus is essential. Don't settle for fixed focus unless you're absolutely sure you'll never need near-field vision.
The Verdict – No Single "Best" Unit Exists
Here's the hard truth: the "best" head mounted night vision device is the one that matches your specific mission.
For the hobbyist and weekend adventurer: A high-quality digital monocular with 1080p sensor, 60Hz refresh rate, and a decent IR illuminator offers the best value—typically $400–$800.
For the serious hunter or security professional: A thermal monocular for detection, paired with a separate digital or analog unit for identification, or a fused system if your budget allows.
For the professional operator: Dual-tube analog goggles with white phosphor (which reduces eye strain compared to green) and auto-gating—expect to spend $5,000–$10,000.
For the budget-conscious first-timer: Skip the $150 "night vision" toys—they're just green filters over cheap cameras. Save up for at least a $300–$400 digital unit. The difference is night and day. Literally.
Final Word – Buy Once, Cry Once
I've seen too many people buy cheap, regret it, then buy twice. Night vision isn't the kind of gear where you want to cut corners. A unreliable unit at 2 AM in unfamiliar terrain isn't just an inconvenience—it's a safety hazard.
Invest in something that works when you need it. Test it in your backyard before you take it into the field. Learn its strengths and weaknesses. And whatever you choose, make sure it fits comfortably on your head—because even the world's best image won't help you if you can't stand wearing it for more than 20 minutes.
What are you planning to use night vision for? Drop a comment below—I'm genuinely curious, and I read every one.
Share on Social:


